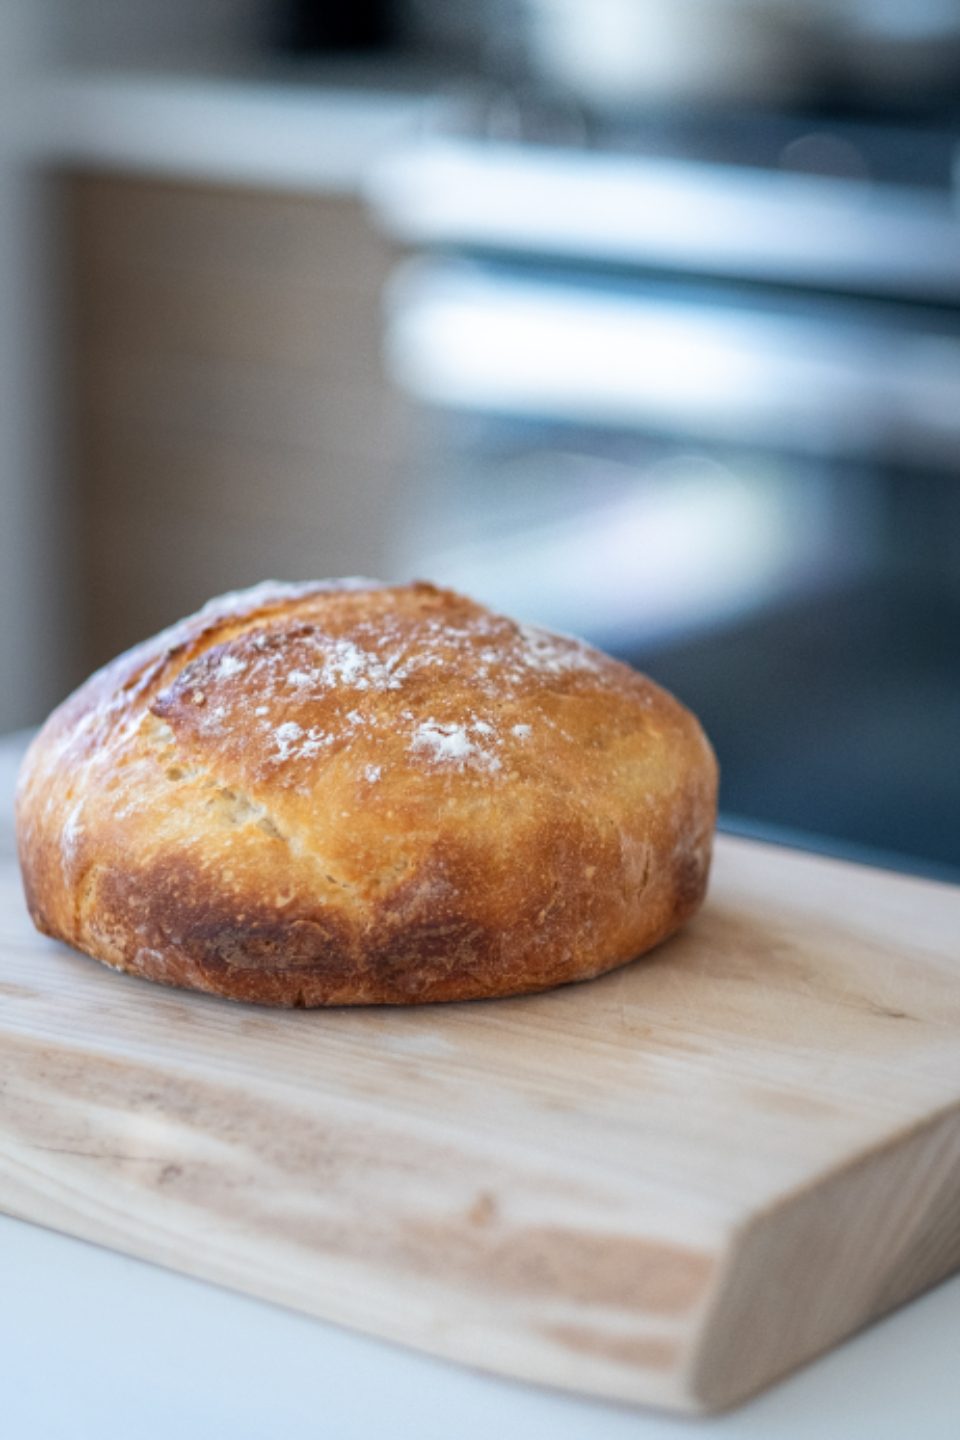
Making sourdough is a slow journey where you learn to wait and listen to the dough. With no commercial yeast, the loaf rises on wild yeast already present in the flour and the air.
It sounds like a lot of work, but most of the time is the dough resting on its own, while your hands are busy only for a few minutes. Treat it as a weekend pleasure rather than a stressful task.
Raising a Starter from Flour and Water
A starter is created by mixing flour and water in equal parts, keeping it somewhere warm, and feeding it once a day. After about five to seven days it bubbles, smells gently sour, and doubles in size, meaning the culture is strong.
Each feeding, you discard part of the old starter and add fresh flour and water. Throwing some away sounds wasteful but is needed to keep the starter from getting too sour and to keep it lively.
Mixing the Dough and the First Rest
An easy base recipe is 500 grams flour, 350 grams water, 100 grams starter, and 10 grams salt. Mix flour with water first, rest it half an hour so the flour drinks in the water, then add starter and salt.
This first rest, called an autolyse, helps gluten form without much kneading. After resting, the dough turns soft and smooth and is easier to shape.
Folding Instead of Hard Kneading
During the first few hours of proofing, every half hour lift one edge of the dough and fold it into the center, turning to do all four sides. This gentle folding builds tension without hard kneading.
After several folds, the dough turns taut and shiny and holds its shape better. This is when it starts to rise, and you’ll see tiny air bubbles appear.
A Cold Overnight Proof for Flavor
Once shaped, place the dough in a floured cloth-lined basket, cover it, and leave it in the fridge overnight. This slow cold proof deepens the aroma and makes the dough easier to score before baking.
The next morning, the firm cold dough holds a lovely shape and springs up when it hits the hot oven. Don’t rush, for it’s the time itself that makes sourdough’s flavor.
Baking in a Dutch Oven for a Crisp Crust
Heat a lidded cast-iron pot in a very hot oven, then set the dough in, score a line across the top, and bake with the lid on. Steam trapped in the pot lets the crust puff up and turn crisp.
Bake covered about twenty minutes, then uncover and bake on until the crust is a deep golden brown. Let the loaf cool fully on a rack before cutting, since the crumb keeps cooking as it cools.
Your first sourdough loaf may not be perfect, but the smell of baking in the kitchen and the joy of tearing into bread you made are big rewards. Bake regularly, and each week you’ll see your skill visibly grow.