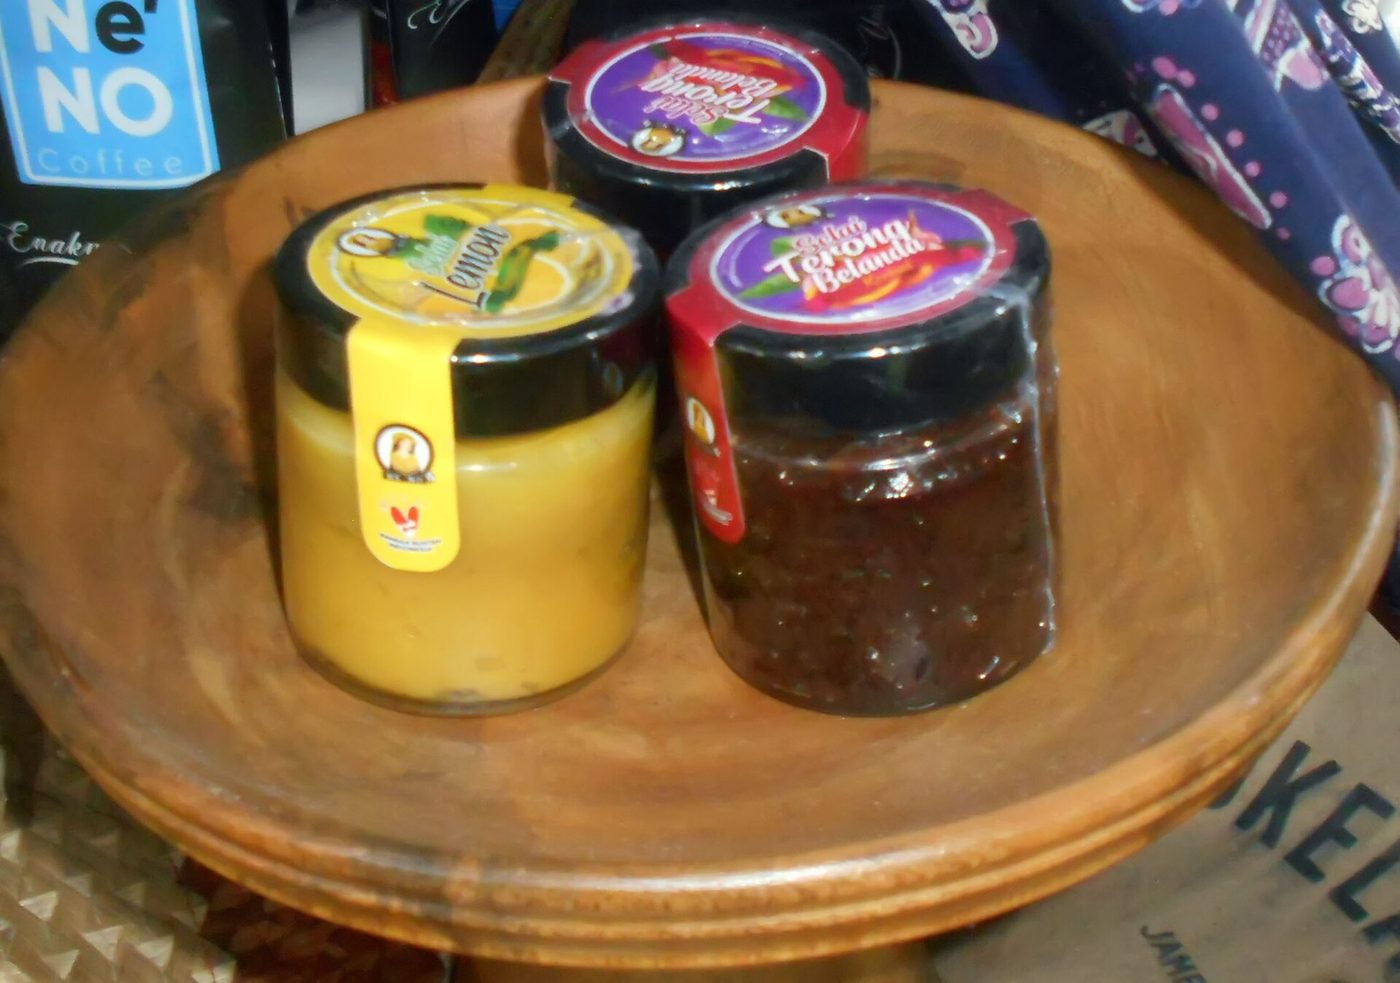
In season, fruit ripens in abundance, cheap and sweet, but if you can’t eat it fast enough it over-ripens and goes to waste. Making jam is how our grandparents kept the sweetness of the season for the months ahead, and it’s a wonderfully soothing kitchen pleasure.
Making fruit jam at home needs no fancy gear, just a heavy-bottomed pot and a little attention. This piece shows the basic principles so every batch comes out thick, fragrant, and long-keeping.
Choosing Fruit at the Right Ripeness
Choose fruit that’s just ripe, fragrant, and naturally sweet, avoiding overripe fermenting fruit or green and harshly sour ones. Seasonal fruit is usually the tastiest and cheapest, perfect for making jam in quantity.
Wash, peel, and cut into pieces to suit the fruit, removing seeds and any bruised parts. Cut large fruit like mango and pineapple small, while strawberries and blueberries can be left whole or lightly crushed.
Weighing Sugar and Its Role
Sugar doesn’t just sweeten; it helps the jam thicken and keep longer. The traditional ratio is about seven parts fruit to five parts sugar, but you can reduce the sugar if you prefer a tarter jam to use up soon.
Macerate the fruit with sugar for a few hours before cooking so it releases juice and the sugar dissolves evenly. This step gives the jam good color and keeps the fruit pieces more intact.
Adding Acid for Set and Freshness
A little lemon juice not only freshens the jam but helps it set naturally, as the fruit’s pectin works better. Squeezing about one lemon per kilogram of fruit is about right.
Low-pectin fruits like strawberries and peaches need added lemon or mixing with pectin-rich fruits like apple or orange to set. The lemon’s gentle tang also balances the sweetness, taking the edge off.
Cooking and Knowing When It’s Ready
Cook the jam over medium heat, stirring evenly so it doesn’t scorch the bottom, and skim the foam for a clear jam. Toward the end it thickens and you’ll need to stir more constantly as it burns easily.
To test if it’s set, drop a bit on a cold plate, wait a moment, then push it with a finger; if the surface wrinkles, it’s done. Don’t cook too long or the jam turns hard and dark.
Jarring and Storing
Pour the hot jam into glass jars rinsed with boiling water and dried, sealing the lid right away to create a clean environment. A sealed jar kept cool lasts weeks to months depending on the sugar.
Once opened, store the jam in the fridge and use a clean spoon each time to avoid contamination. Note the date made on the jar so you can track it and enjoy it at its best.
Making seasonal fruit jam is a gentle way to hold onto nature’s flavor and cut waste. A jar of homemade jam spread on morning toast carries the sun and breeze of a season gone by, well worth a try.